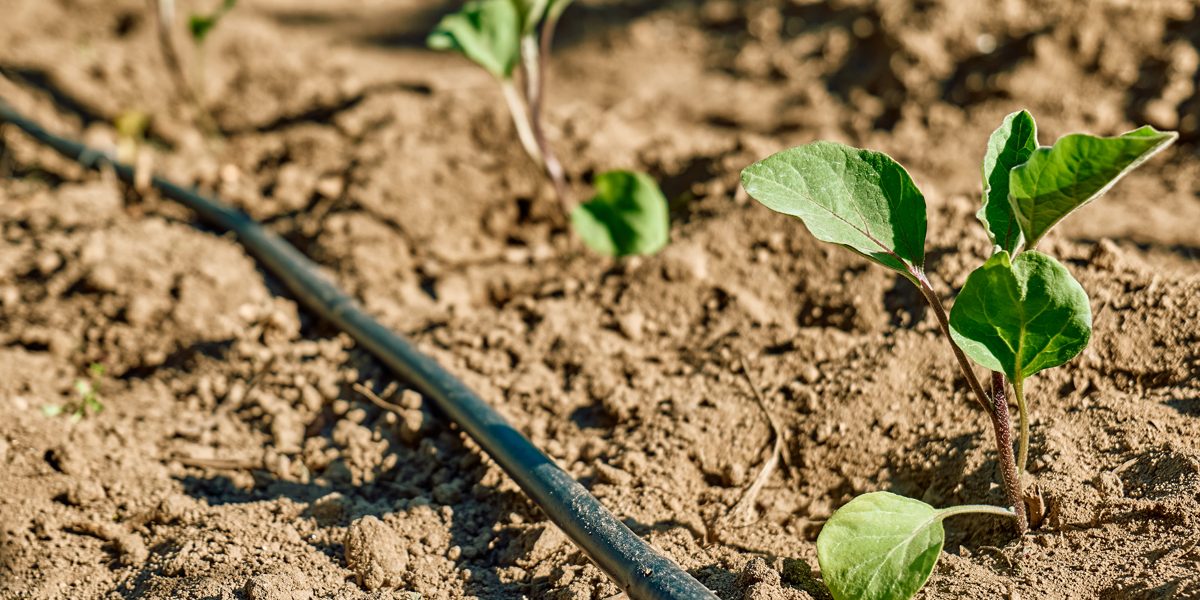
Simply watering your property with a hose is not the most efficient way to provide your garden with a reliable water source. Try installing a drip irrigation system, which is often regarded as one of the best ways to water your soil and plants. Follow our guide below to do this as a DIY project.
Step 1. Lay Out Irrigation Grid
The purpose of installing drip irrigation is to prevent overwatering. This system consists of interconnected drip irrigation tools like hoses, valves, and emitters. These emitters will provide water to a plant’s roots consistently. Lay these tools out correctly to get the best results possible.
Your grid plan will primarily consist of emitters and hoses, with a drip irrigation grid or diagram helpful. Follow these instructions for the first step:
- Plan out where all your hoses will go.
- Identify all plants that must be watered.
- Each plant needs to have its own emitter or drip.
- Take note of how far apart the plants are at this time.
- This will ultimately determine how long your hoses need to be.
- Each hose has to be attached to the water source through a network of irrigation lines.
- These lines will run from your main hose to the plants.
It’s recommended to place the emitters 24 inches apart in clay soil.
Step 2. Assemble Hoses
The tubing of drip irrigation are 1/4-inch and 1/8-inch plastic hoses. This makes up the bulk of your drip irrigation system. Here is how to properly assemble the hoses:
- Add a backflow preventer valve to your outdoor faucet.
- This keeps groundwater from backing up into your drinking water.
- Attach a hose adapter to fit the main system line’s diameter.
- Connect the system’s main line to your backflow preventer and run it to the garden.
Step 3. Install Tees For Branch Lines
Now that your hoses have been assembled, it’s time to install your tees. Tees are what connect your hoses and direct how lines branch off, helping to make the irrigation system work across landscapes of many types.
Follow these steps to properly install the parts:
- Place a tee in the line for each and every branch line.
- Secure this with band clamps.
- Cut the lengths of line just long enough to extend them through the garden to each tee.
Step 4. Install Emitters And Feeder Lines
A properly installed drip irrigation system is one of the most efficient ways to water the garden. The final step is to put in emitter and feeder lines. Use these steps below:
- Punch holes in the line of all the emitters with an emitter tool.
- Place the emitters next to your plants for watering.
- Selected plants should not be more than one foot away from your line.
- Cut the appropriate length of 1/8-inch emitter tubing.
- Attach your feeder line to the emitter on the branch line.
- Attach the emitter to the end of your feeder line.
- Plug the ends of all the lines with caps, securing them with band clamps.
Make sure to flush the system every 4-6 months by removing the cap and turning on the water. Allow it to run thoroughly until the water flows clear.
Sonoran Landscape Design In Arizona
We are a Full-Service Design and Build Landscape Contractor. Working within your budget, we will help guide you from the design stage, through construction, all the way to completion. We can even maintain your landscape after completion to ensure your investment stays looking its best.
We offer outdoor fireplace, kitchen, pool, water feature, pergola installations, artificial turf installations, and more! Our highly qualified staff that will ensure you receive a quality landscaping job done, with lasting value! Contact our team today!


